
In this tutorial, I suppose that you have already installed TaniaJekyll, just follow the ones you need and don’t forget to leave a comment below.
Full list of usages can be found here. This post only shows some showcases of this theme.
5 layouts of posts
You can check on the index page, there are 5 different layout of posts. If you wanna apply some layout, just indicate fields
- The source of elements:
element-source - The type of layout: using included file post-layout.html with keyword
typeto indicate the layout. In this field, you also need to indicateimg-src(the source of images),offset(from which element we show the list of elements) andlimit(how many elements you wanna show).
For example, below are the codes to show the projects (type="project") I’ve done in the front page. In this field, I only show the first (offset=0) 4 projects (limit=4). The list of projects are stores in a data file called _data/project.yml (site.data.project). Please open file index.html in the repository and then step to section “project” to see an example of below descriptions
{% assign element-source = site.data.project %}
{% include post-layout.html type="project" img-src="/img/project" source=element-source offset=0 limit=4 %}
Project
- Structure: Photo - Title - Description.
- In this example page, I use this layout as the layout of my projects.

In order to modify this, you can ()
- Source of elements:
site.data.project(_data/project.yml). You can also use the sources as a list of posts like other below layouts. - Type:
type="project". - Icons for the projects must be located in /img/project/.
{% assign element-source = site.data.project %}
{% include post-layout.html type="project" img-src="/img/project" source=element-source offset=0 limit=4 %}
Reading list
- Structure: Photo - Title - Author - Rating.
- Specifically used for the list of books.
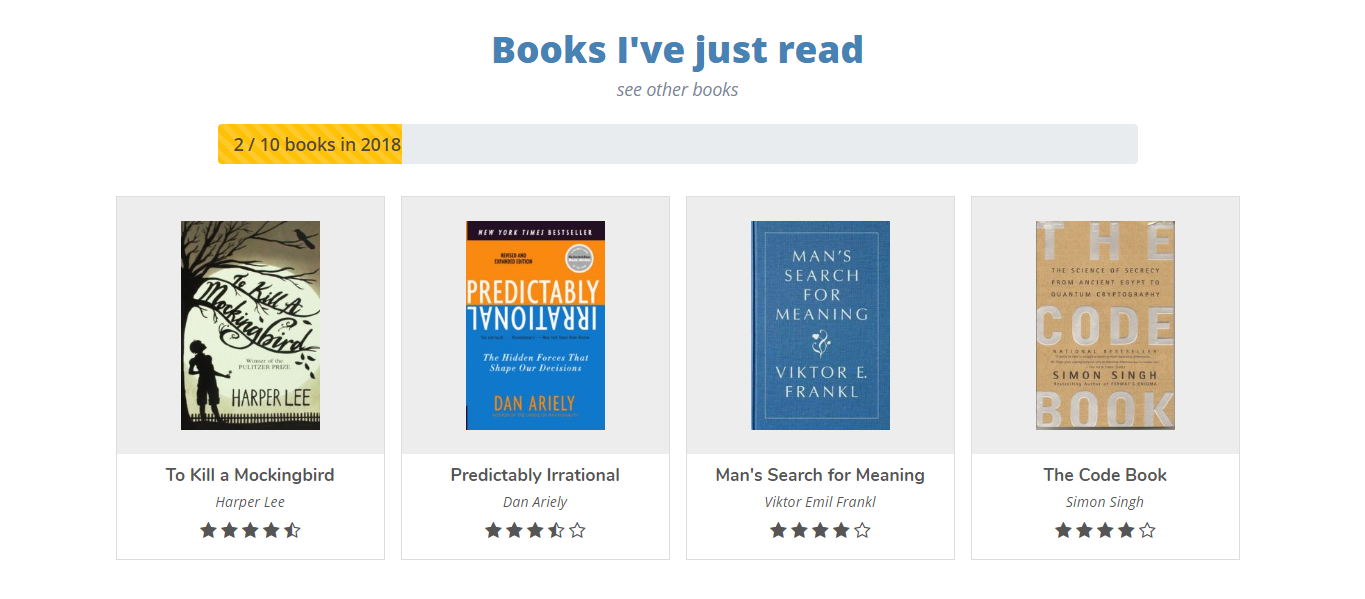
- Change the number of challenge books in _data/setting.yml (
ncbfor the amount andncb_yearfor the considered year) - The theme will automatically determine how many book is read in that year.
- Read more on the front matter setting to see the list of arguments used for this type of post.
- All book covers must be stored in /img/bookimg/.
{% assign element-source = site.categories.reading %}
{% include post-layout.html type="reading" img-src="/img/bookimg" source=element-source offset=0 limit=4 %}
Tutorial
- Structure: Icon - Title - Descripton.
- Used for tutorial posts.
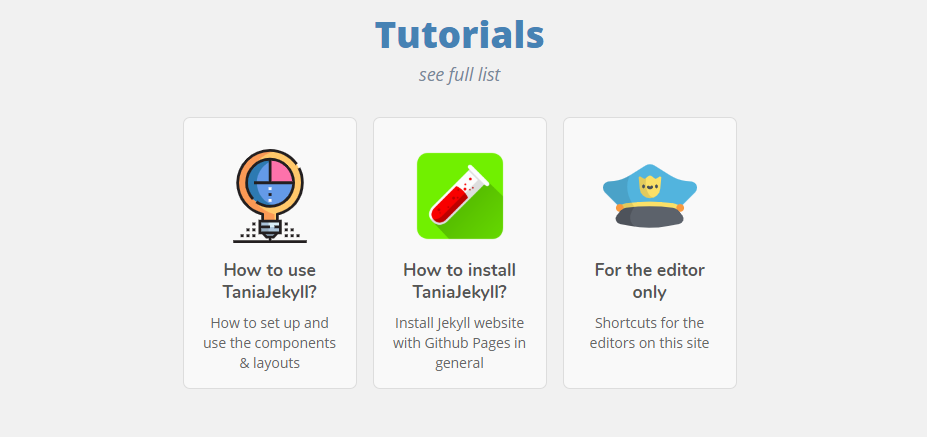
- Check some examples in _posts/tutorial/.
- For the free icons, you can use this site.
- Icons must be located in /img/turorial/.
{% assign element-source = site.categories.tutorial %}
{% include post-layout.html type="tutorial" source=element-source offset=0 img-src="/img/tutorial" limit=6 %}
Thought (layout 1)
- Structure: Title - Date.
- Very simple layout.

{% assign element-source = site.categories.thought %}
{% include post-layout.html type="thought" source=element-source offset=0 limit=6 %}
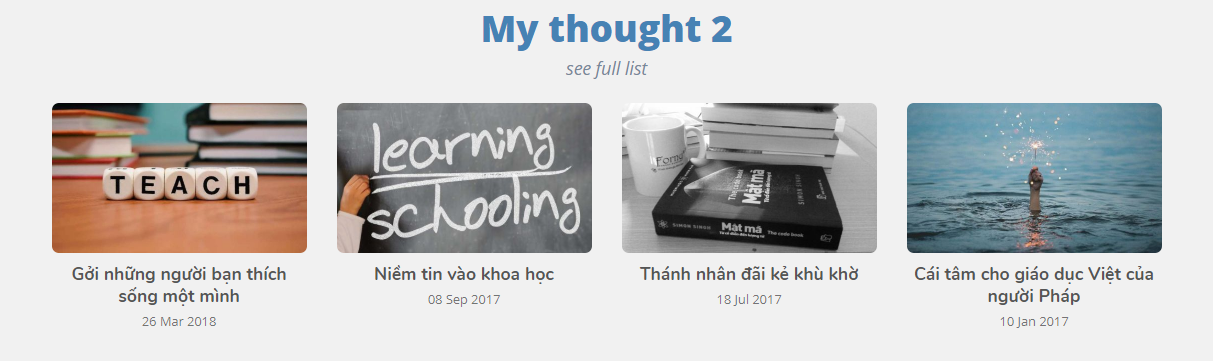
Thought (layout 2)
- Structure: Photo - Title - Date.
{% assign element-source = site.categories.thought %}
{% include post-layout.html type="thought2" source=element-source offset=0 limit=4 %}
Front Matter
Begin of each post, you need to be careful to choose the right front matter for that post. What’s front matter? Something like this
---
layout: post
title: How to use TaniaJekyll?
---
There are some already-defined components on TaniaJekyll that you could use (If you don’t want to use something, remember to REMOVE it). Check more in this post.
Insert figures
There are a lot of ways you can insert an image in a post. I imitate the idea of photo post in a Medium post so that they are really beautiful with this layout. All of usages can be seen in this post. Below are some examples,
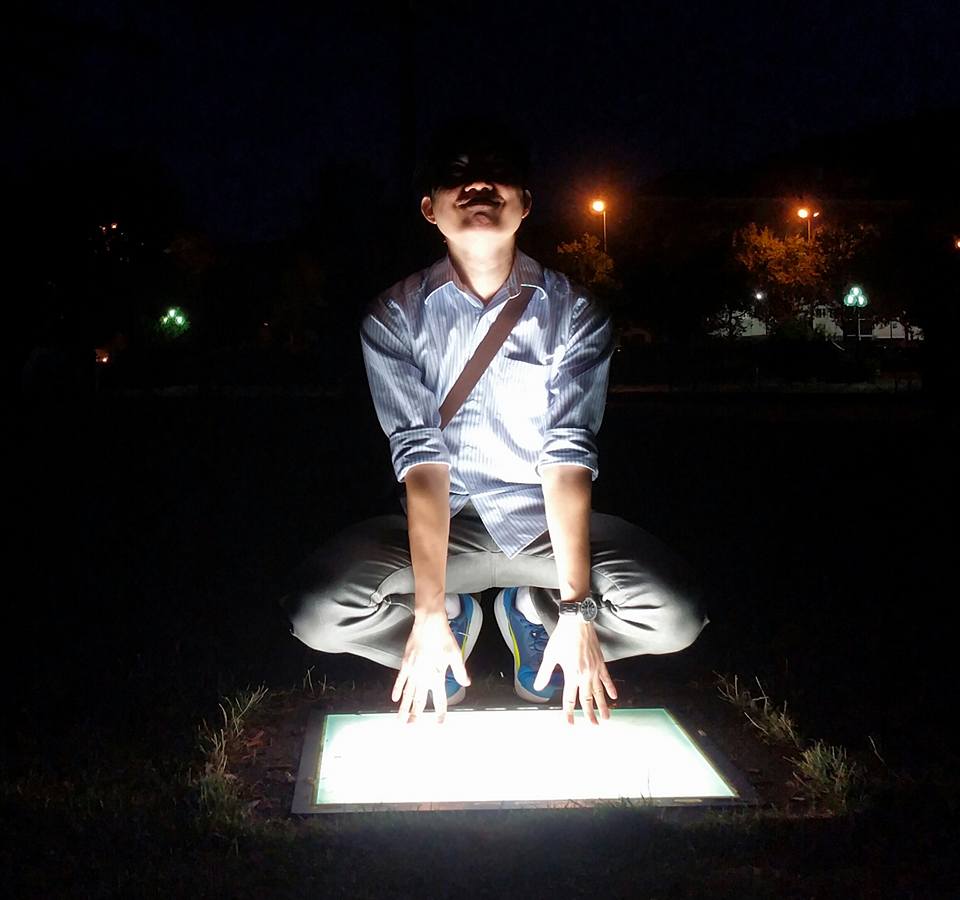
A full-width image
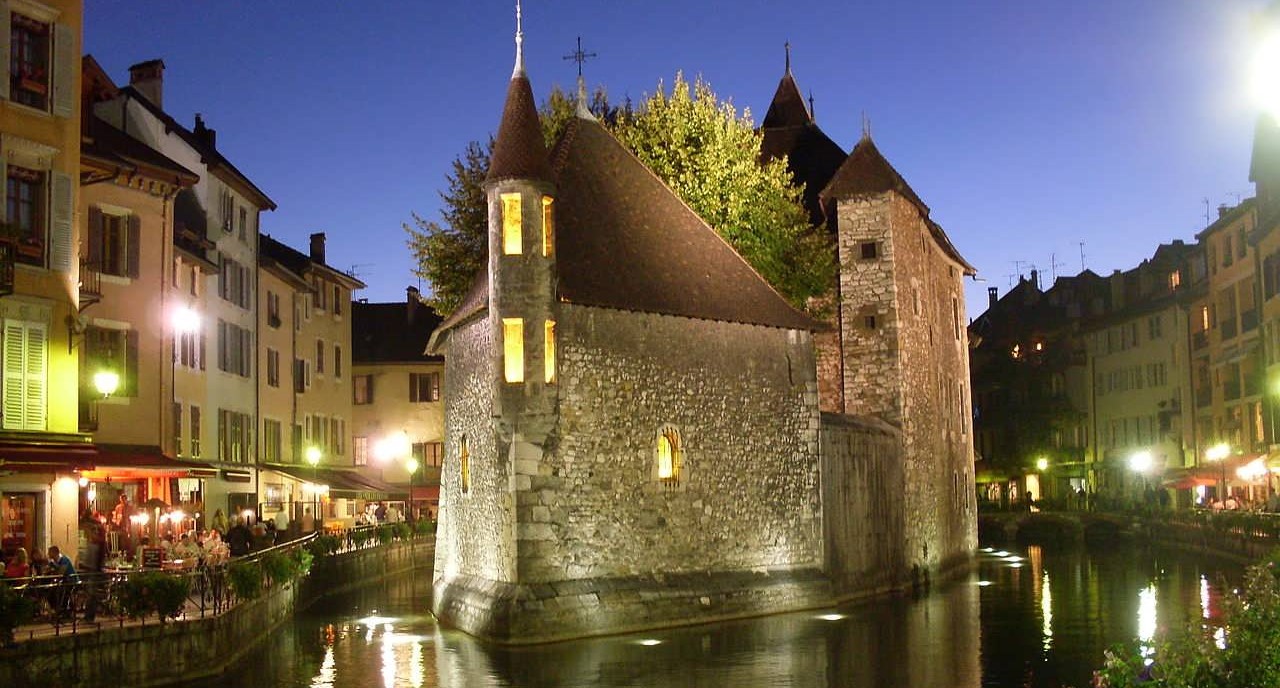 A description of the image.
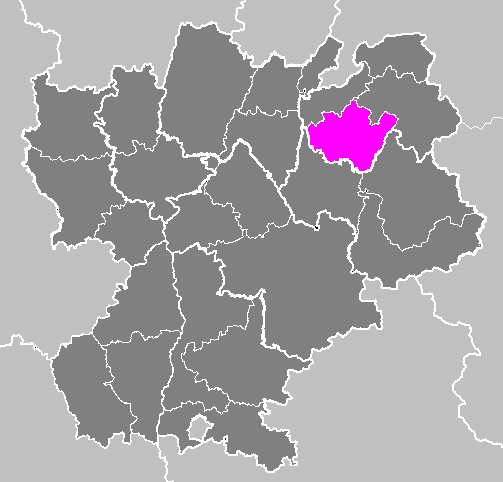
Or images can be float to the left or the right of the post,
 A description of the image.
This is an example of paragraph to see the effect of the image floating to the side of post. It has no meaning, please not to understand it. This is an example of paragraph to see the effect of the image floating to the side of post. It has no meaning, please not to understand it. This is an example of paragraph to see the effect of the image floating to the side of post. It has no meaning, please not to understand it. This is an example of paragraph to see the effect of the image floating to the side of post. It has no meaning, please not to understand it. This is an example of paragraph to see the effect of the image floating to the side of post. It has no meaning, please not to understand it. This is an example of paragraph to see the effect of the image floating to the side of post. It has no meaning, please not to understand it.
Side by side figure and content
In the case you wanna create some tutorial posts with a figure on the left and some instructions on the right, you can use this type of shortcode. Please check this to see how to use it.
This is an example of paragraph to see the effect of side-by-side content and image. Is has no meaning. This is an example of paragraph to see the effect of side-by-side content and image. Is has no meaning. This is an example of paragraph to see the effect of side-by-side content and image. Is has no meaning.
This is an example of paragraph to see the effect of side-by-side content and image. Is has no meaning. This is an example of paragraph to see the effect of side-by-side content and image. Is has no meaning. This is an example of paragraph to see the effect of side-by-side content and image. Is has no meaning.
Insert boxes
I build this theme based on Boostrap, then you can use all of its boxes in this theme, for example,
Please check this to see how to use it. I also add a hide/show box
Contents.
and definition box
Title
Content
Steps
You even can add the steps. Please check this to see how to use it.
Content of step 1.
Content of step 2.
Texts
You can do many things with text like marked texts or a keyboard like Ctrl + B. You even can make a text be